# Viso 12 - Quick Start Guide
# Introduction
Information in this document is subject to change without notice and does not represent a commitment on the part of Noldus Information Technology bv. The software described in this document is furnished under a license agreement.
The software may be used or copied only in accordance with the terms of the agreement.
Copyright © 2024 Noldus Information Technology bv. All rights reserved. No part of this publication may be reproduced, transmitted, transcribed, stored in a retrieval system, or translated into any other language in whole or in part, in any form or by any means, without the written permission of Noldus Information Technology bv.
Viso is a registered trademark of Noldus Information Technology bv. Other product names are trademarks or registered trademarks of their respective companies.
Documentation: Olga Krips, Viktor Kovacs, Leanne Loijens.
February 2024
Noldus Information Technology bv.
International headquarters
Wageningen, The Netherlands
Telephone: +31-317-473300
Fax: +31-317-424496
E-mail: info@noldus.nl
For addresses of our other offices and support, please see our website
www.noldus.com.
# Up and running quickly
This Quick Start Guide guides you through the main steps to create sessions with Viso. Only the most basic features are addressed. Inevitably, some features that may apply to your application are not discussed. You can find additional information in the Viso Help. Press F1 in Viso to access the Viso Help.
## Terminology
**Location**
A location is an area with cameras, for example an observation room, or a usability test room.
**Session**
By default, a session is one recording with all cameras in one location. It is also possible to record multiple-location sessions. See the Viso Help for the options.
**Department**
A group of users that has access to a certain location. Other users who work with the same Viso set-up and belong to another department do not have access to this location.
**Group**
By defining groups you can easily assign identical rights to a number of users, for instance, the right to view a session live or the right to review it after it has been recorded.
**NOTE** The terminology in this Quick Start Guide may differ from what you see in Viso, since the person that maintains your Viso system may have changed it in the program. Locations may, for example, be called *Rooms* and *Sessions*, *Recordings*. Also markers, subjects and user roles may have different names.
## Viso modules
### Viso Base module
The Viso Base module allows you to record sessions in up to four locations with up to four cameras each. User management ensures that sessions can only be created and viewed by the persons that have the user rights to do so. This functionality is described in the section [Viso Base Module](https://bookstack.noldus.com/link/707#bkmrk-page-title).
A[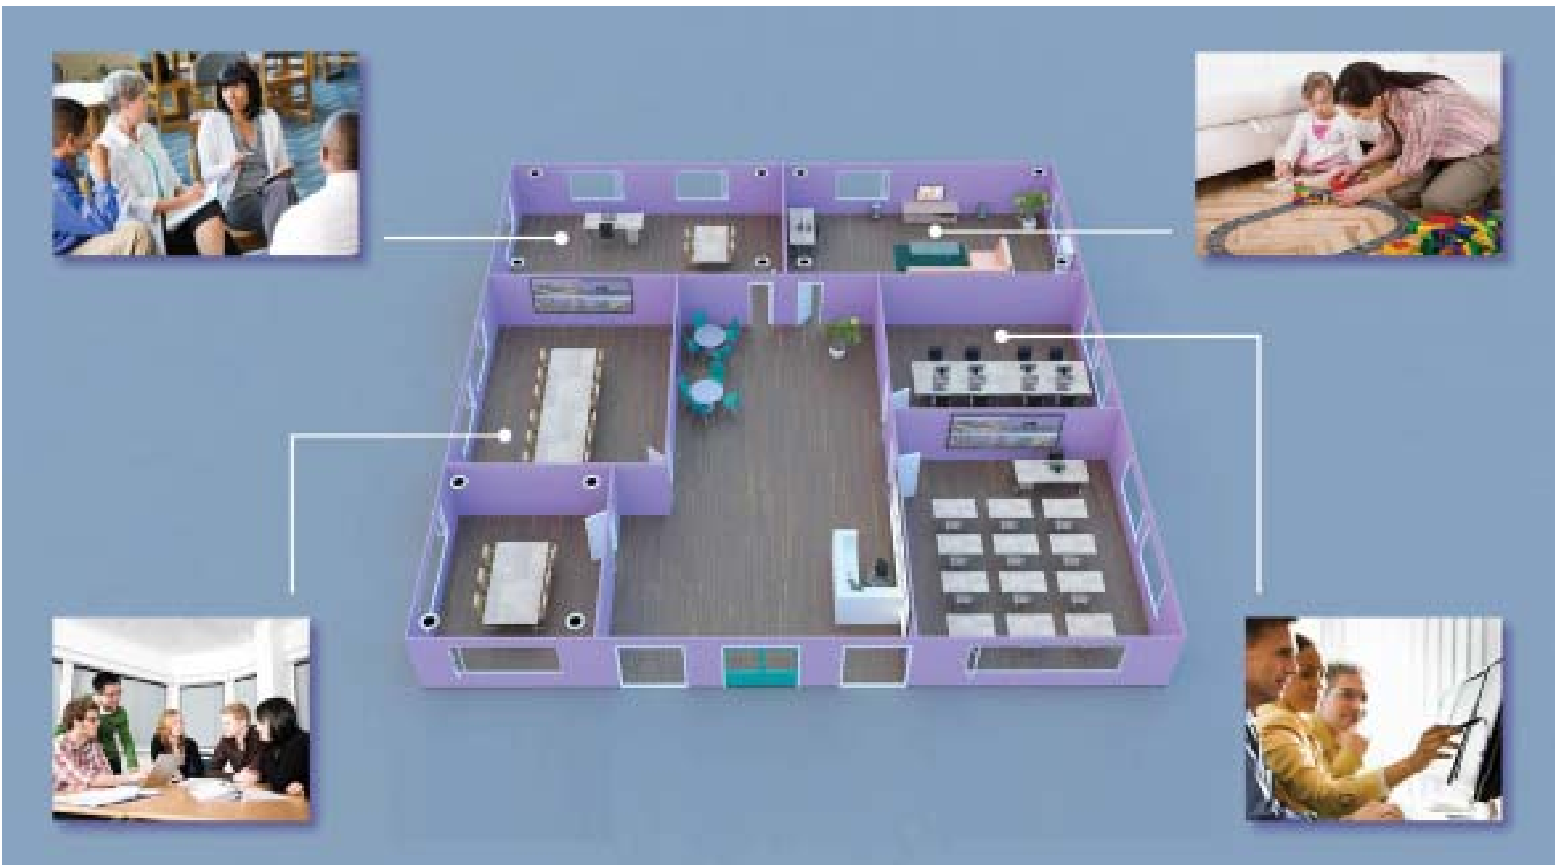](https://bookstack.noldus.com/uploads/images/gallery/2023-11/IzkejGUgCSsW0Sf8-image.png)
The Viso Base Module can be extended with extra locations and extra cameras.
### Annotation module
You can extend your Viso license with the Annotation module. With this module, you can mark events in your session and enter free text as remarks. This functionality is described in the section [Annotation Module](https://bookstack.noldus.com/link/708#bkmrk-page-title).
### Scheduler module
You can extend your Viso license with the Scheduler module. With this module, you can schedule sessions to be recorded in the future. This functionality is described in the section[ Scheduler Module](https://bookstack.noldus.com/link/709#bkmrk-page-title).
# Viso Base Module
## User roles
There are five types of user accounts, each with its specific rights for setting up Viso, creating sessions or viewing them.
- Setup – To make network connections and add users.
- Technician – To add users, set up locations and manage sessions.
- Administrator – To record and manage sessions.
- Trainer – To record sessions and manage own ones.
- Trainee – To view sessions.
## Login
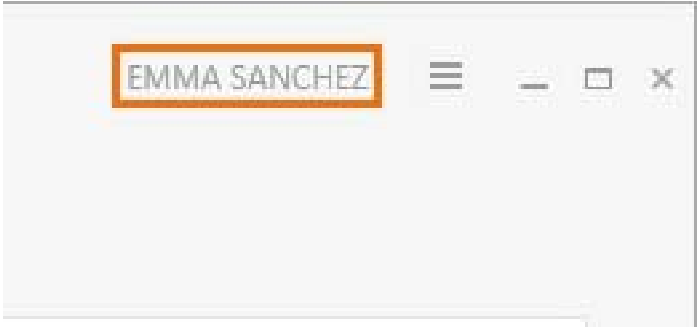
First log in in Viso with the user name and password that were given to you by the person that maintains your Viso system. Your name is shown in the top-right corner of the Viso window. Click on the name to change your password or log out.
[](https://bookstack.noldus.com/uploads/images/gallery/2023-11/ttEWK0FKNZONbEcG-image.png)
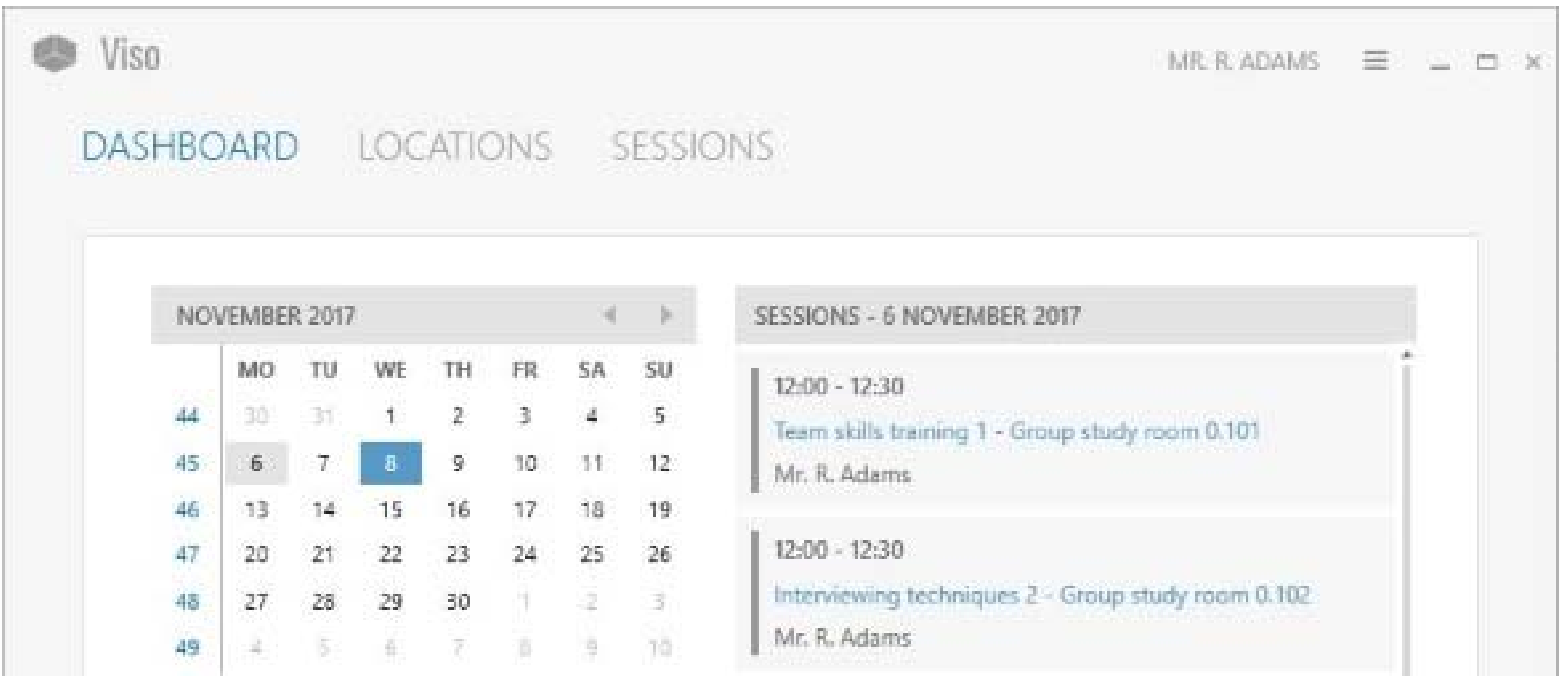
Viso opens with the dashboard which includes a calender and a sessions list. Days in bold indicate when sessions that you are allowed to view were recorded. Click on a date in the calender to view these sessions. (The picture below shows the dashboard of a Trainee.)
[](https://bookstack.noldus.com/uploads/images/gallery/2023-11/y0tqkzf0Cc5Ayb0L-image.png)
## Prepare session recording
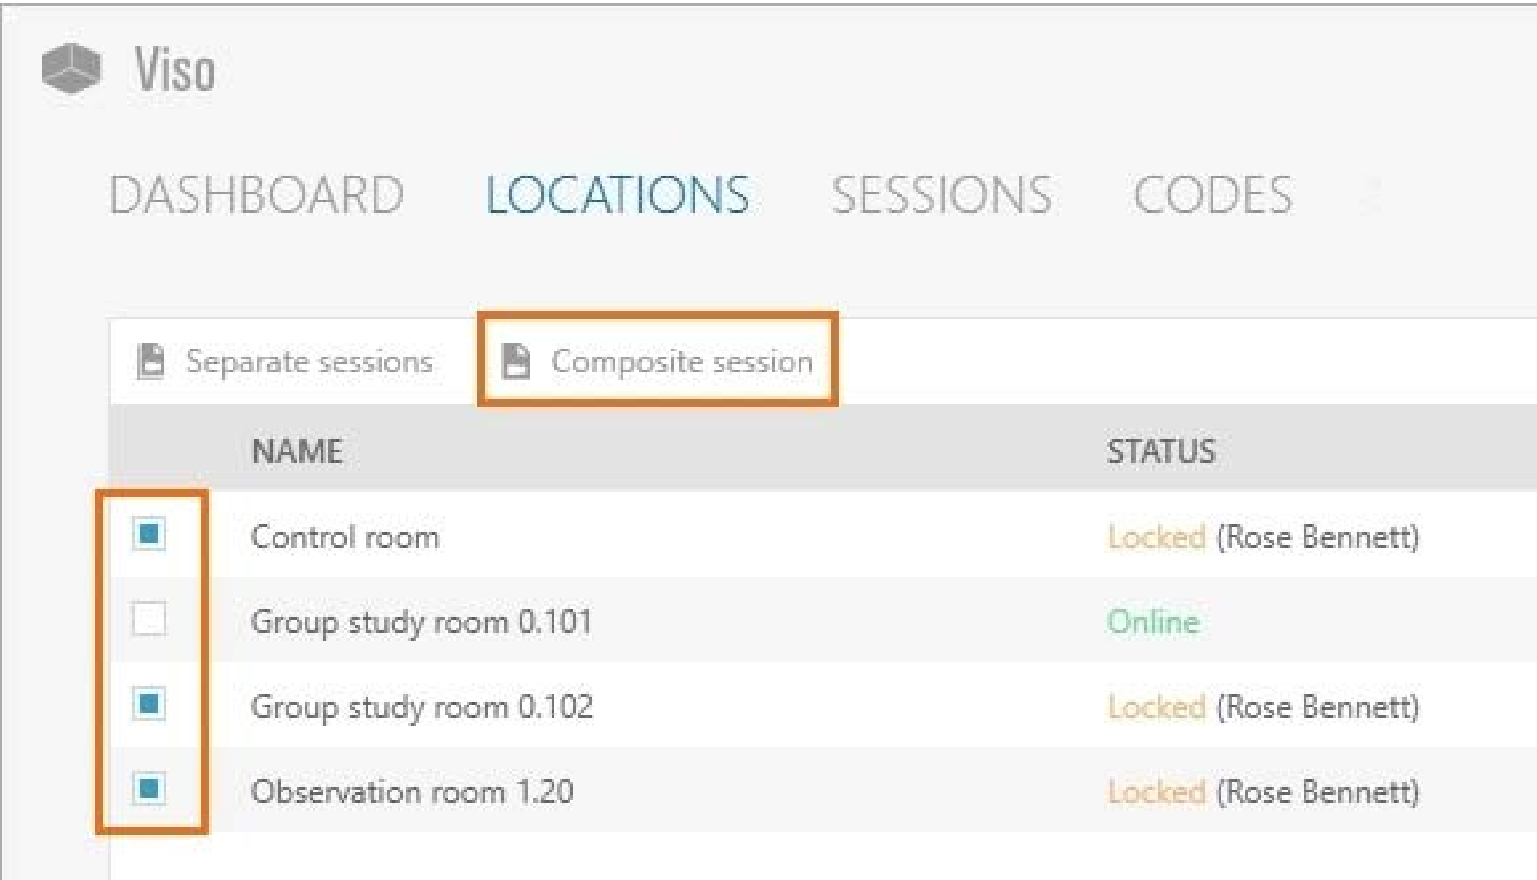
In the Locations tab, double-click the location in which you want to start recording.
**TIP** The person that maintains your Viso system can enable session recording in multiple locations simultaneously. If this is the case, select the locations and choose Separate sessions to obtain one session for each location, or Composite session to obtain one session in which all locations are combined.
[](https://bookstack.noldus.com/uploads/images/gallery/2023-11/FKn4Ds7563JxpE31-image.png)
### To position the camera
This option is available for Axis cameras that can Pan, Tilt, and Zoom.
1. Hover with your mouse over the camera image. In the toolbar that appears, click on the four-arrow button to enable PTZ-control. [](https://bookstack.noldus.com/uploads/images/gallery/2023-11/9wpV6ZAI8pZgSfXU-image.png)
2. Click on the camera image and keep your left mouse button pressed to control the camera position. [](https://bookstack.noldus.com/uploads/images/gallery/2023-11/l5oPFyg7wyF5Ntkc-image.png)
### To adjust your video window layout
1. Click on the settings button to open the Video settings window. [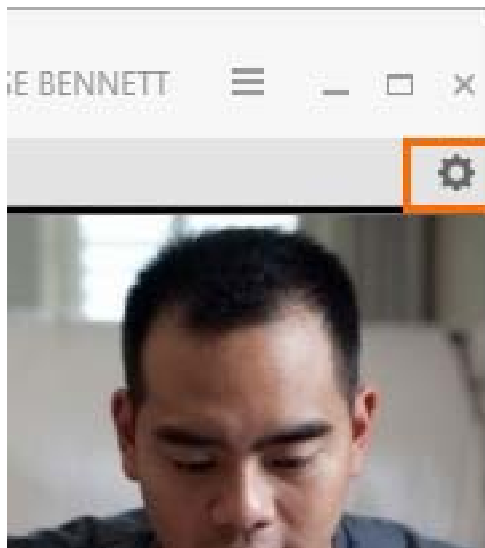](https://bookstack.noldus.com/uploads/images/gallery/2023-11/wAKhNSEFmR8Ltluc-image.png)
2. Select the video layout you want to use. Click Zoom to fill to maximize the video windows. Click on a video to hide it. [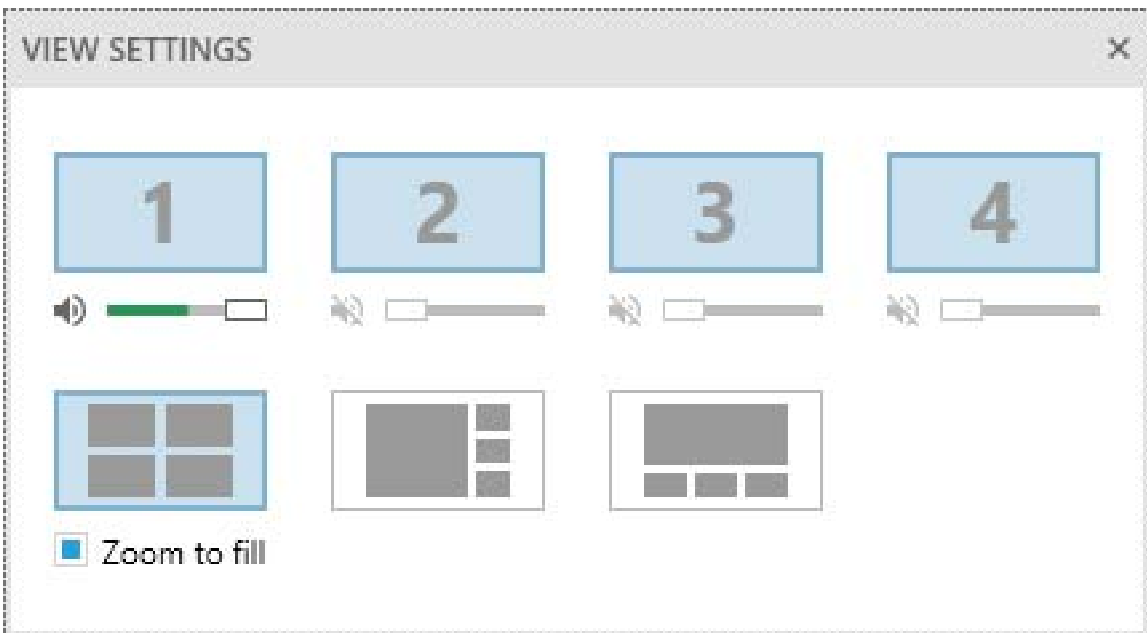](https://bookstack.noldus.com/uploads/images/gallery/2023-11/YGc3IayuweWJaAST-image.png)
The changes affect the preview only. They do not affect the video recordings.
### To control the audio volume in the preview
See the pictures in To adjust your video window layout.
1. Click on the settings button to open the Video settings window.
2. Move the sliders to control the audio volume in the preview. Click on a speaker icon to mute the audio of this video stream in the preview.
The changes affect the audio in the preview only. They do not affect audio of the recordings.
### To talk to the people in a location
Use the push-to-talk option to speak to the test participants in the location through the camera speaker. Ask the person that maintains your Viso system if this option is available for your cameras.
1. Hover over a camera image and click-and-hold the microphone button. Keep the button pressed while you talk.
[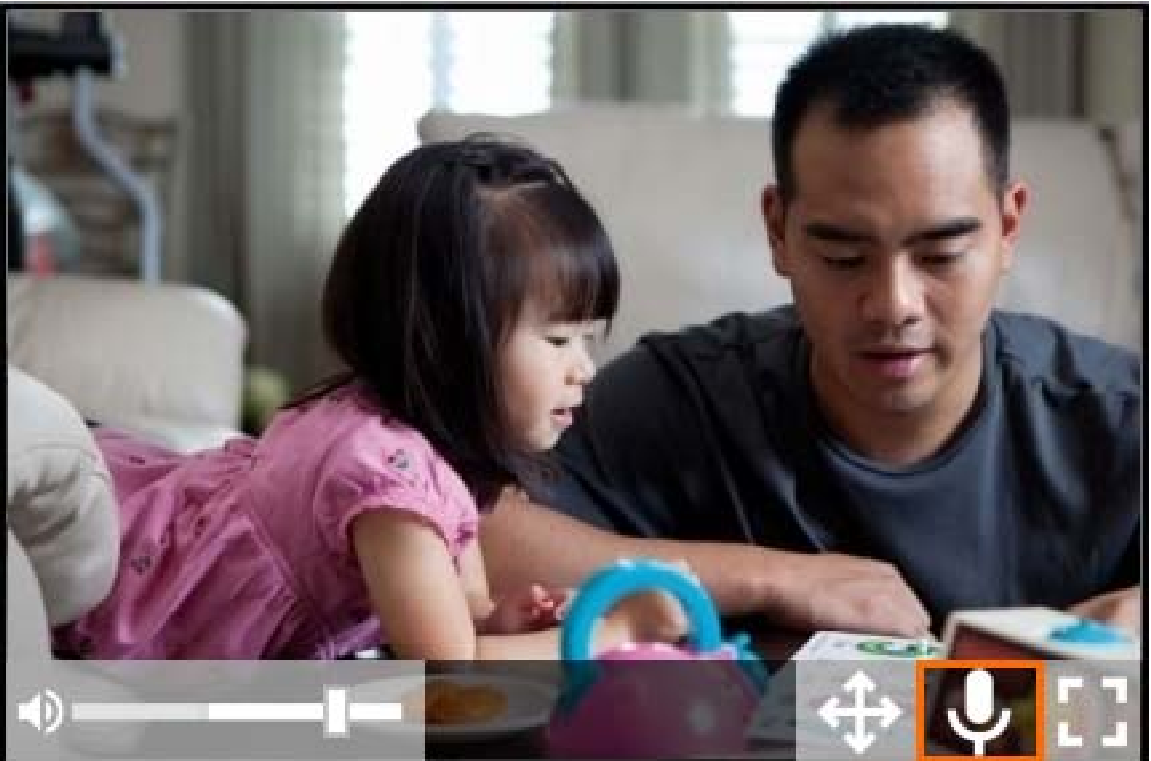](https://bookstack.noldus.com/uploads/images/gallery/2023-11/Okzsolh8cyKzsGOn-image.png)
To invite other users for the session
1. Open the Participants pane at the bottom-left of your window.
2. Select the participants.
[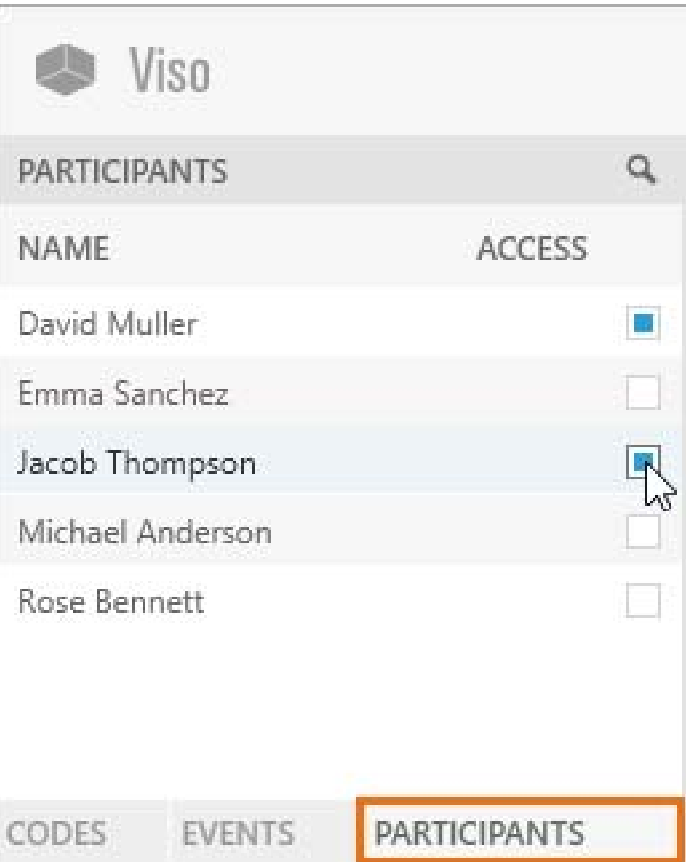](https://bookstack.noldus.com/uploads/images/gallery/2023-11/pIAxkBneqOVlj5ek-image.png)
The invited participant receives an invitation message with which the session can be opened. The session is also listed in the dashboard of the invited participant. An invited participant can view a session live, and review it afterwards.
## Record a session
1. To start recording, click on the red button. [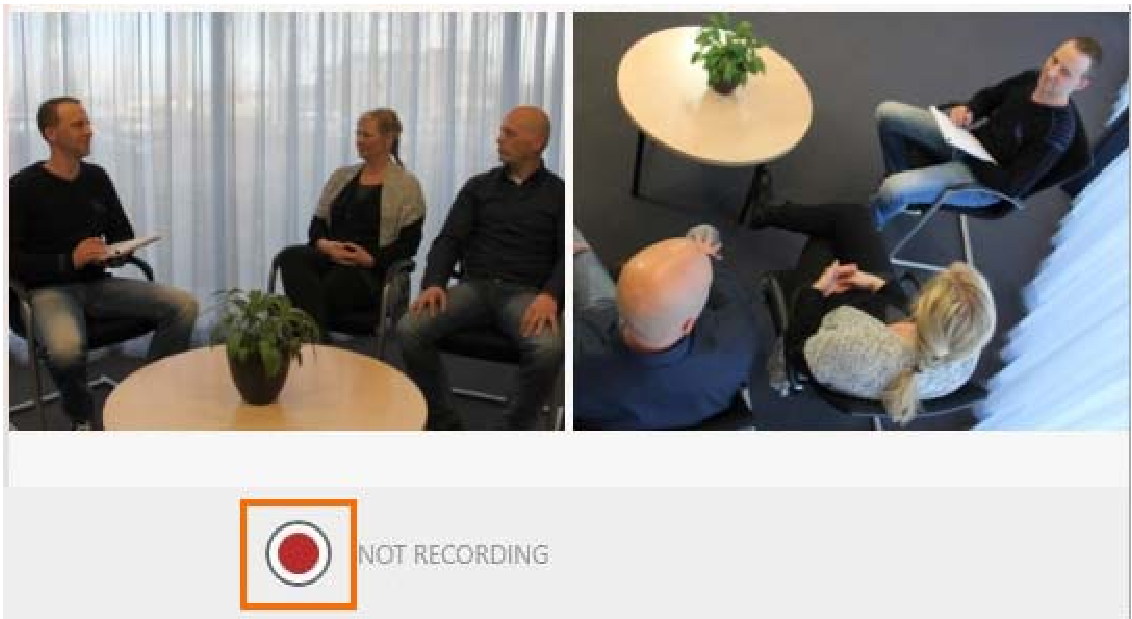](https://bookstack.noldus.com/uploads/images/gallery/2023-11/f6klk8yNwt1MbD7X-image.png)
2. To start a recording in another location, choose Back to return to the Locations tab. Open another location and start recording. [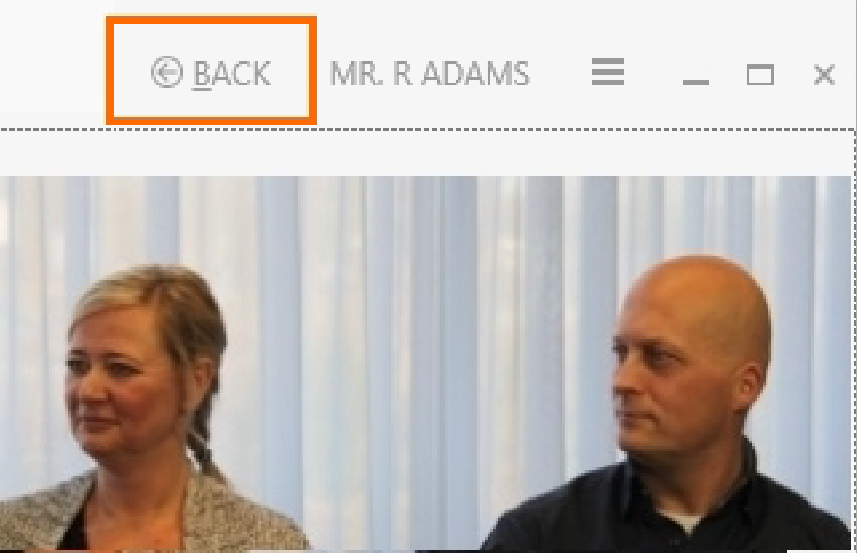](https://bookstack.noldus.com/uploads/images/gallery/2023-11/AKFkMovyMdh0Tnes-image.png)
3. To stop recording at the end of a session, open the location if it is not already open, and click on the stop recording button. Only the user that created the session can stop recording. [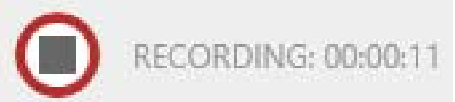](https://bookstack.noldus.com/uploads/images/gallery/2023-11/0A1qggajTaqHrP9V-image.png)
4. If you started recording in other locations as well, also stop these recordings.
You can also start and stop recording with the Viso Web App. Ask your colleague who maintains the Viso set-up for the
website address. Log in and use your smartphone or tablet to start and stop recording.
## Review sessions
1. In the Dashboard, click on a date in the calender to view the sessions that you recorded or received an invitation for.
For the complete list of the sessions that you are allowed to view, open the Sessions tab.
[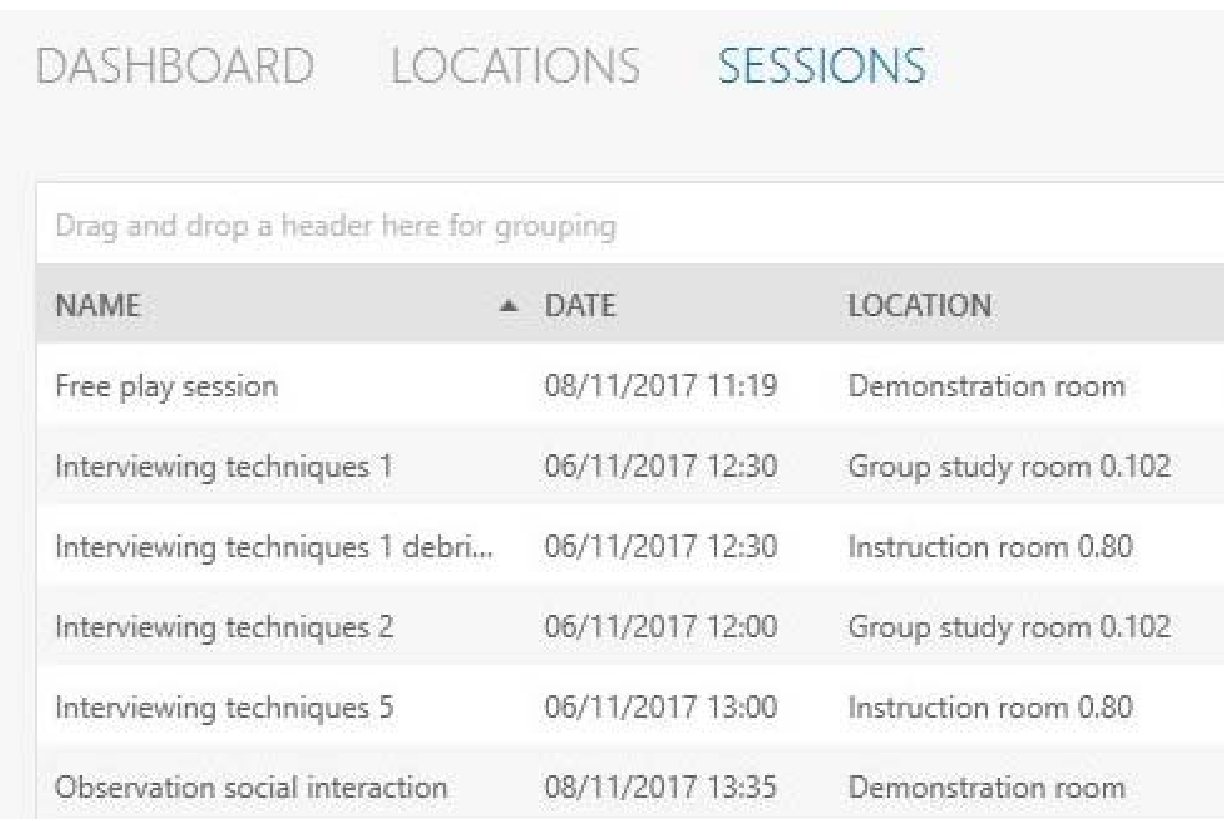](https://bookstack.noldus.com/uploads/images/gallery/2023-11/dP005ap2WuGCtAr0-image.png)
1. To open a session, double-click it.
2. Optionally,[ invite others](https://bookstack.noldus.com/link/727#bkmrk-page-title) to review the recorded session.
3. Play the session to debrief it.
4. To replay the last five seconds, click on the Quick Review button. Click multiple times to replay a longer episode.
[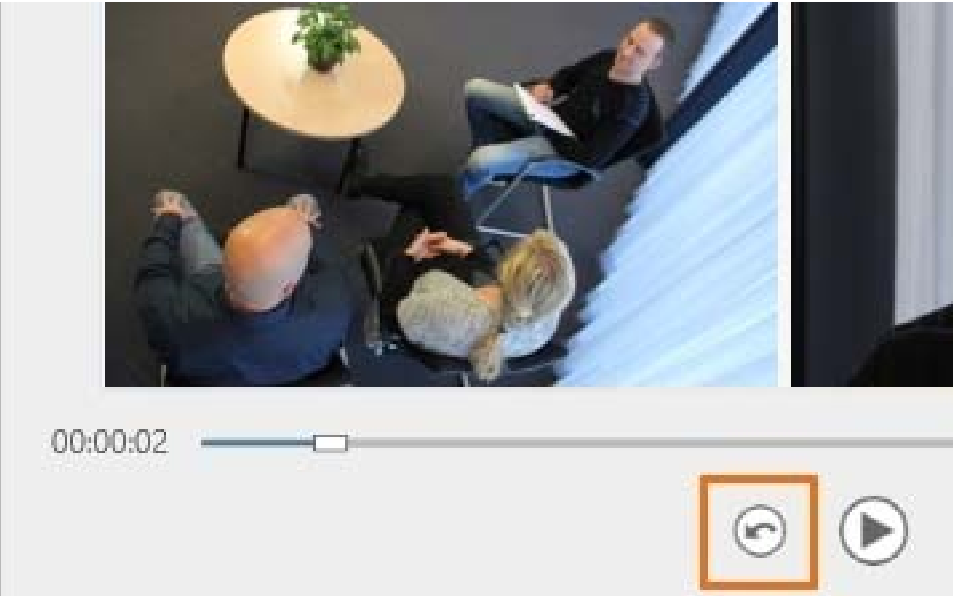](https://bookstack.noldus.com/uploads/images/gallery/2023-11/rbhpB1injZR9bVc7-image.png)
**NOTE** To sort sessions, click on a column header. To group sessions, for example by location, drag and drop a header to the top of the table.
**NOTE** To rename sessions, or to delete them after debriefing, open the Sessions tab, right-click the session and select the option you require.
# Annotation Module
With the Annotation Module, it is possible to mark events in your sessions. Besides the functionality of the [Base Module](https://bookstack.noldus.com/link/354#bkmrk-page-title), the Annotation Module has the following additional options:
- [Create Codes lists.](https://bookstack.noldus.com/link/708#bkmrk-create-codes-lists)
- [Annotate.](https://bookstack.noldus.com/link/708#bkmrk-annotate)
- [Enter Remarks.](https://bookstack.noldus.com/link/708#bkmrk-enter-a-remark)
- [Create Highlight videos](https://bookstack.noldus.com/link/708#bkmrk-create-highlight-vid)
## Create codes lists
Use subjects and markers to annotate your session. Subjects are the roles of the persons under study. Markers mark the start of an episode, for example the start of a test, or the moment your test participant makes an error in a usability test. Only define subjects if you observe multiple persons and want to annotate their individual behavior.
Subjects and markers are organized in Codes lists. A Codes list can contain maximally 36 subjects and 36 markers. To create a Codes list:
1. Open the **Codes** tab and click **New List**.
[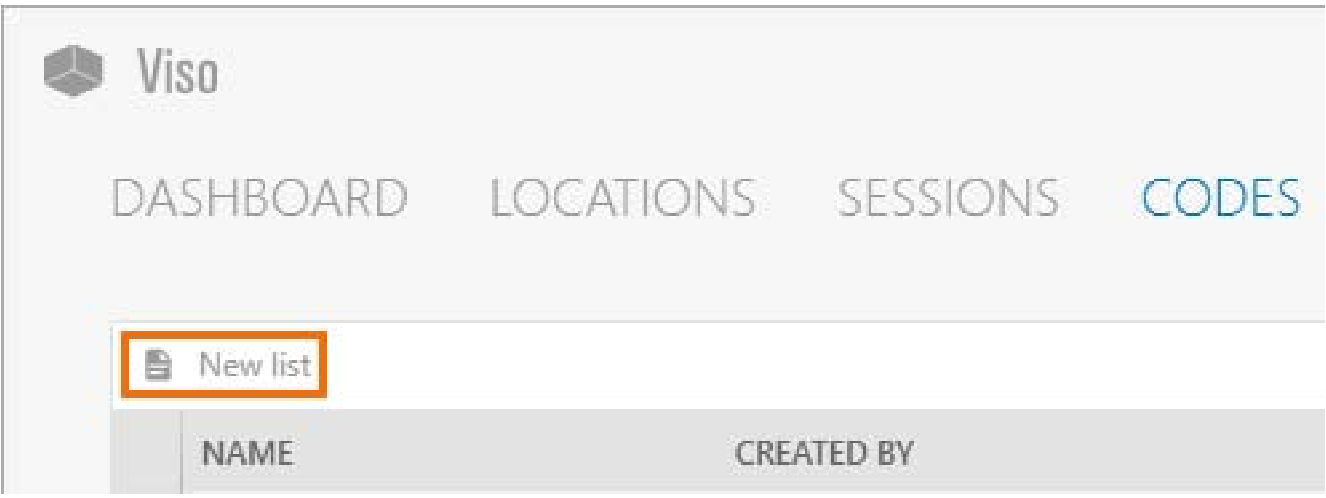](https://bookstack.noldus.com/uploads/images/gallery/2023-11/ZU3dpSu11SSLwrMW-image.png)
2\. Give the list a name and, optionally, a description.
3\. Optionally, define the subjects.
[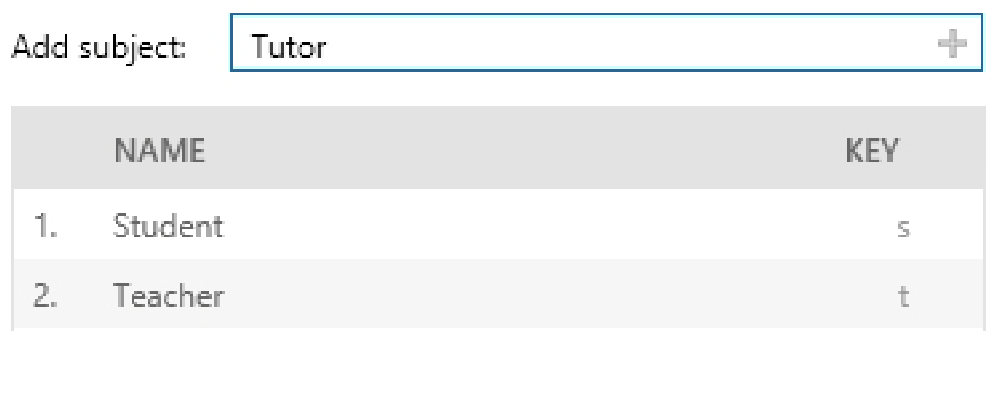](https://bookstack.noldus.com/uploads/images/gallery/2023-11/COXQ42eqWXhIv5Ab-image.png)
4\. Define the markers.
[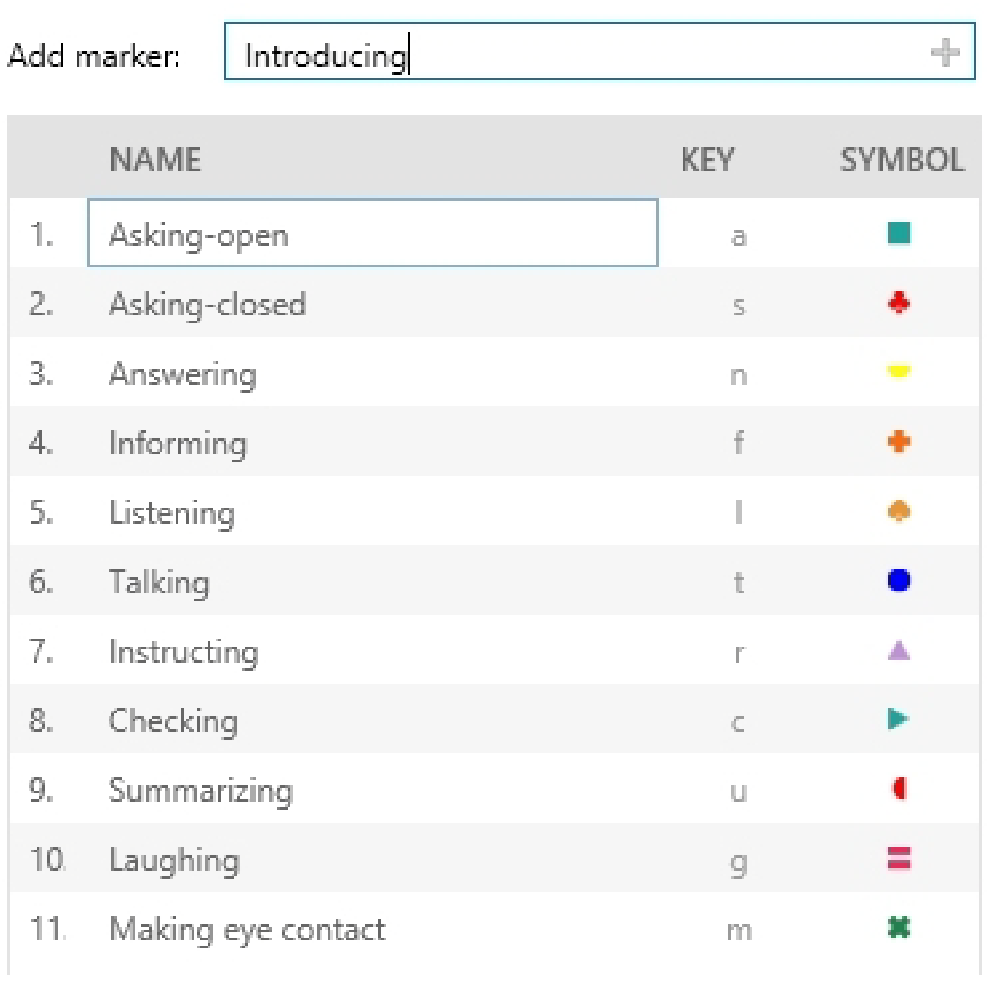](https://bookstack.noldus.com/uploads/images/gallery/2023-11/2JAGuXtEwbQVDXW8-image.png)
**NOTE** New markers automatically get a key code, shape and color. Within one list, a key code can only be used once. The key code is by default the first letter from the marker name that has not been used for other markers in the same list yet.
You can change the key code, shape and color manually.
## Annotate
1. To create a session, double-click a location.
2. To select a **Codes list**, click on the **Select Codes list** button. [](https://bookstack.noldus.com/uploads/images/gallery/2023-11/d0twcVgwEVM21uBU-image.png)
3. To start recording, click on the red button. [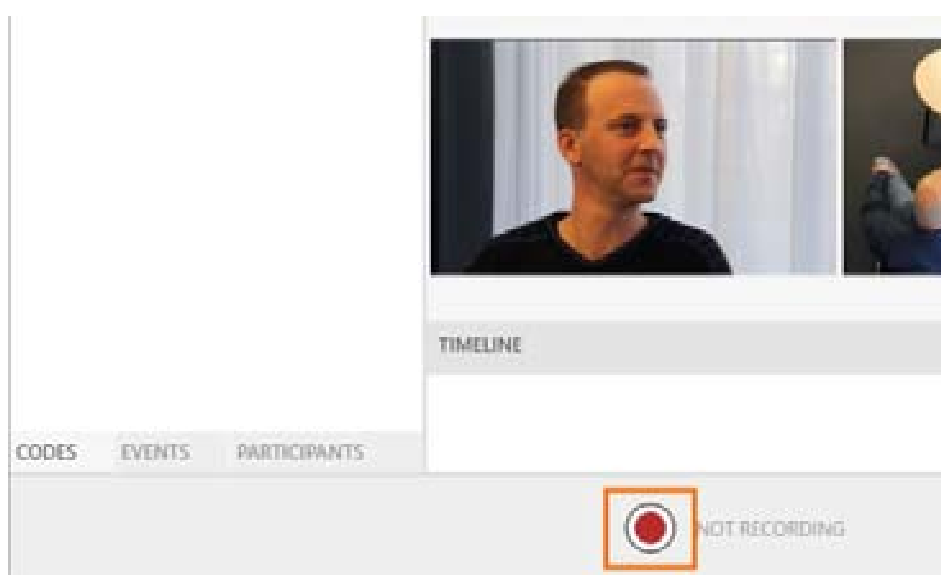](https://bookstack.noldus.com/uploads/images/gallery/2023-11/r6uz9Pnd9SDpvPo7-image.png)
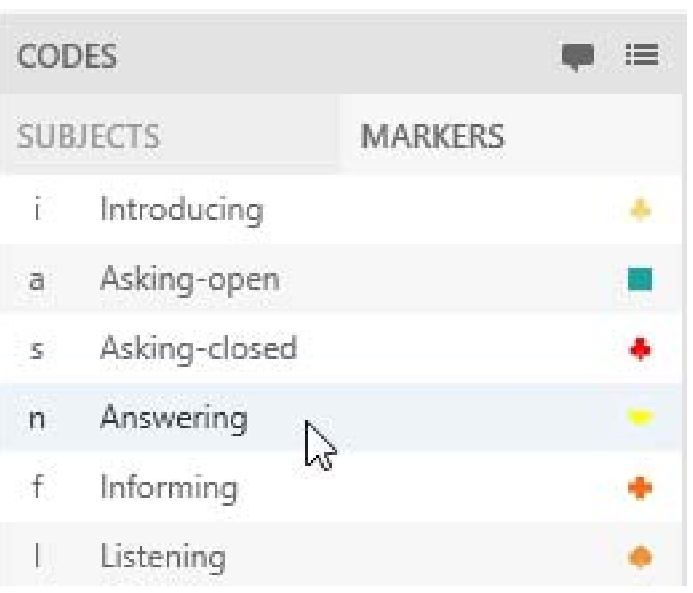
4. To mark events, first press the key associated to a subject and then the key associated to the marker. Alternatively, click the **Subject** and **Marker** in the **Codes** window. It is also possible to score markers only. To do so, open the **Markers** tab in the **Codes** window and score the markers there.
[](https://bookstack.noldus.com/uploads/images/gallery/2023-11/Ngsfq5WcctjYAGB0-image.png)
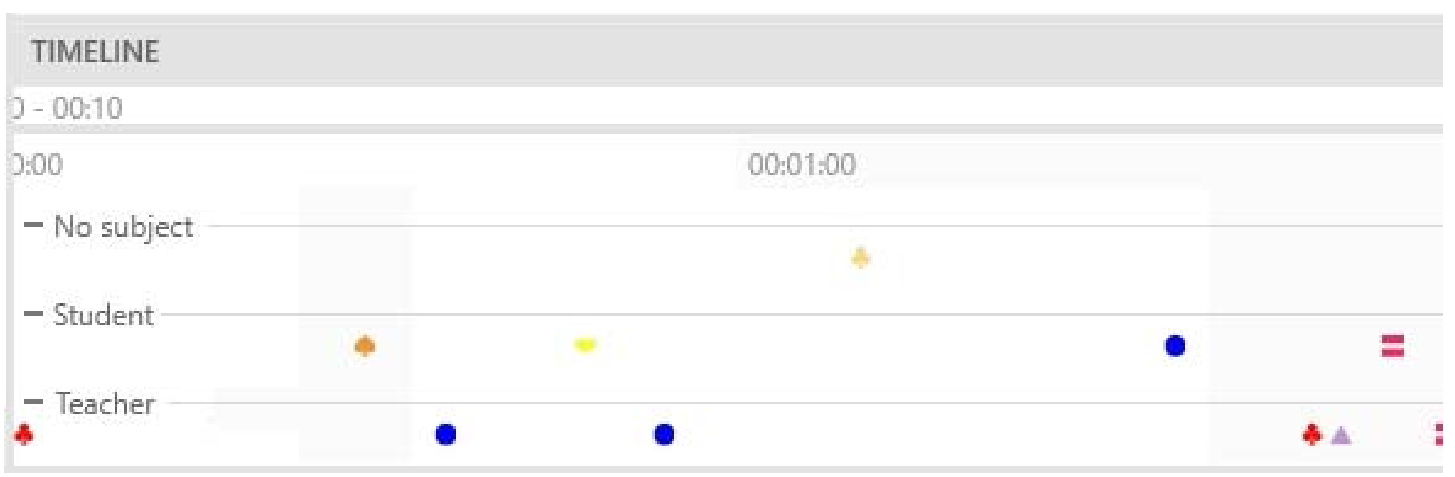
The events appear in the timeline at the bottom of your window. Markers scored without subjects appear in the row **No Subject** in the Timeline.
[](https://bookstack.noldus.com/uploads/images/gallery/2023-11/gI5tx52i9jbALvib-image.png)
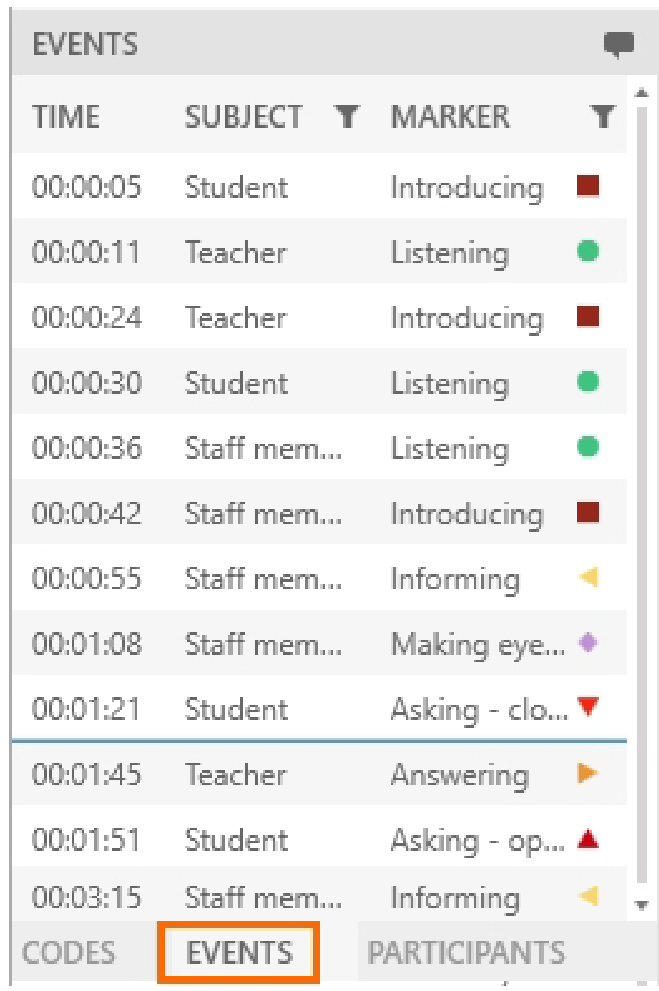
Open the **Events** tab to view or edit the codes.
[](https://bookstack.noldus.com/uploads/images/gallery/2023-11/7xp05s16t3Yw56YU-image.png)
### Notes
- To select another Codes list, open the **Codes** tab and click on the **Select codes list** button. Select the correct list. This is only possible if you did not score events yet in this session.
[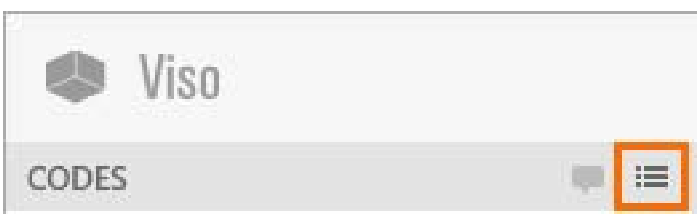](https://bookstack.noldus.com/uploads/images/gallery/2023-11/KnjqfZT8HFufomBz-image.png)
- It is also possible to score subjects and markers in a recorded session. To do so, open the **Sessions** tab and open the session. Open the **Codes** tab and click on the **Select codes list** button to select the Codes list. Play the session and annotate the session. When you already annotated during session recording, you can only score events from the same codes list.
- You cannot score subjects only.
- To jump to an event in the video, click on the scored event in the Event log or Timeline.
- Set a pre-roll interval to start playing a few seconds prior to the event. Click the **Menu** button, choose **Settings** and then **Quick Review interval**.
- To jump to the next event, click on the **Skip to next event** button or press **CTRL + Arrow right.**
[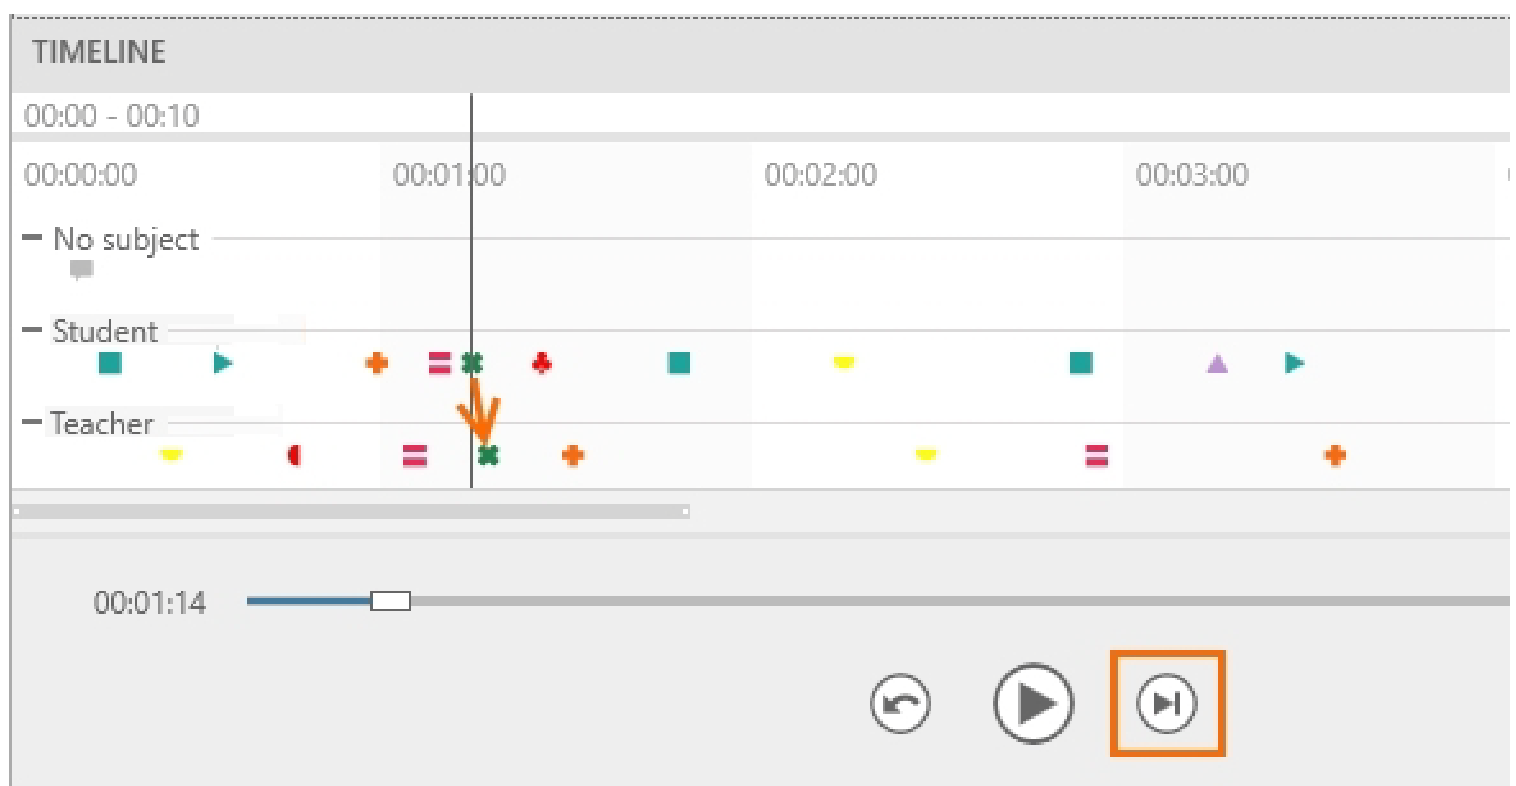](https://bookstack.noldus.com/uploads/images/gallery/2023-11/ZTCqJ8vNVeZIx0rk-image.png)
- To filter scored events, click on the **Filter** button next to Subject or **Marker** in the **Event log** window. Specify the filter. The filter is applied to the event log and the timeline.
- To save the scored events, press **Ctrl + S**. The scored events are also saved when you exit the session.
## Enter a remark
[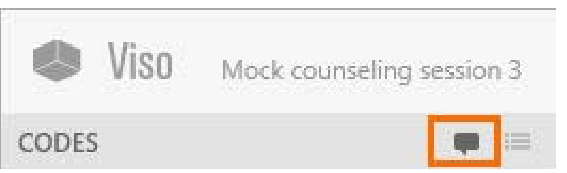](https://bookstack.noldus.com/uploads/images/gallery/2023-11/EoZ5o6sLaPtouXPs-image.png)
When something of interest happens during your session that you did not define in the Codes list, click this button, or press **Ctrl+R**. Enter free text as a remark.
[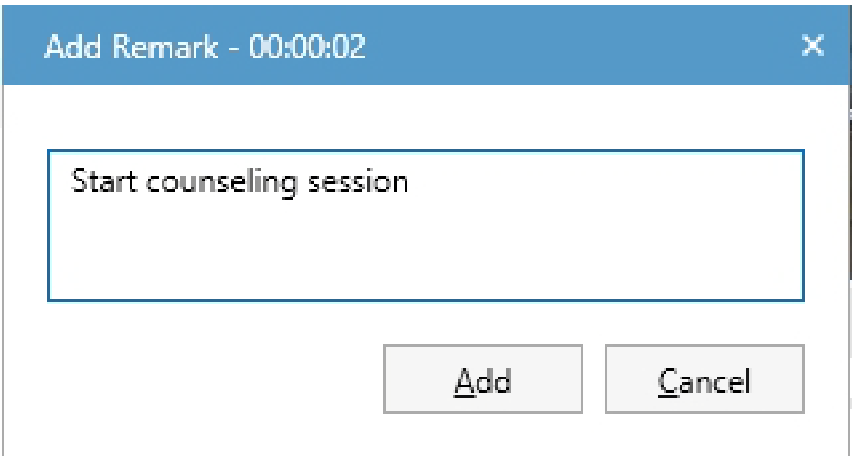](https://bookstack.noldus.com/uploads/images/gallery/2023-11/oInbCi76o7HsSGkV-image.png)
If the **Enter remark** button is not visible, open the **Codes** or **Events** tab at the bottom-left of your window.
## Create highlight videos
Select specific point events of interest within sessions and create highlight videos containing these. To create such a video:
1. Open a session from the dashboard
2. Right-click anywhere in the timeline or click on the **Export highlight video** button in the top right corner of the timeline.[](https://bookstack.noldus.com/uploads/images/gallery/2024-02/XViYBO1oKN3Mx8ym-export-hoghlight-video-button.jpg)
3. Select the point event(s) of the session you wish to include in your highlight video. For a single event, move the Time slider to or near to the particular point event of interest and select **For current time point**. If the point events of interest are associated with some or all of the markers you have specified in the Code list you used to annotate your session, select **For multiple markers**.
4. If you have opted for **For multiple markers**, a window appears where you can select the point event(s) you wish to highlight.[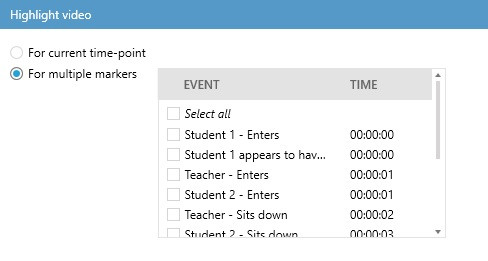](https://bookstack.noldus.com/uploads/images/gallery/2024-02/JeJ8D4ym88WJ20SE-quickstart-highlight1.jpg)
5. If you wish to merge all your highlighted point events into a single video, use the **Merge videos** at **Options**.
6. Whether you opted for current time point or multiple markers, the next step is to set the length of the section(s) including the selected point event(s) at **Highlight video duration**.
7. If you wish to add subtitles, check the **Add subtitles** box at **Options**.
8. At **Export to folder**, select the folder where you wish to save your Highlight video and if you hacve finished with all the settings, press **Export**. [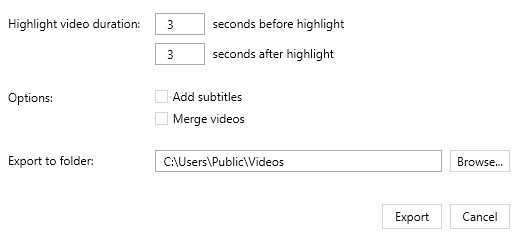](https://bookstack.noldus.com/uploads/images/gallery/2024-02/JEmrkUCKyPjXEHmk-quickstart-highlight2.jpg)
# Scheduler Module
The Scheduler Module allows you to schedule sessions in advance.
## Dashboard
The dashboard displays a calender and a list of scheduled and recorded sessions that you are allowed to view. The recorded sessions have a link that allows you to open them.
## Schedule a session
To schedule a session:
1. Open the **Scheduler** tab
2. Double-click a time slot or press the **New schedule** button.
3. Enter a **Session** name in the **Name** field
4. Select the **Location** from the list.
5. Optionally, select other users from the **Participants** list to invite them to the session.
6. Specify the Start and End times.
7. Click **OK**.
8. The scheduled session now appears in the Dashboard of the user that created it and the ones that are invited.[](https://bookstack.noldus.com/uploads/images/gallery/2024-02/L2sbEpzlCII35Uu8-quickstart-scheduler.jpg)
# Making an Audit Report
In an Audit Report you can log all the activities regarding video creation, deletion and access of the users of your choice. Making an audit log should be enabled in the settings and your user role should allow audit reporting (Technician).
1. Click the menu button and choose **Audit Report**.
2. Choose for what period, what user and what location you want to make a report.
3. Select a destination folder to store the report and click **Export**.
# Keyboard shortcuts
## Why use keyboard shortcuts
Keyboard shortcuts allow you to use Viso without taking your hands off the keyboard. Using keyboard shortcuts can also help in the prevention of repetitive strain injury. Keyboard shortcuts are only available if the corresponding menu or window is active. Viso has keyboard shortcuts for:
- [General functionality](https://bookstack.noldus.com/link/767#bkmrk-general-functionalit-1)
- [The Sessions tab](https://bookstack.noldus.com/link/767#bkmrk-the-sessions-tab)
- [The Codes tab (Annotation Module)](https://bookstack.noldus.com/link/767#bkmrk-the-codes-tab-%28annot)
- [Record sessions](https://bookstack.noldus.com/link/767#bkmrk-record-sessions)
- [Review sessions](https://bookstack.noldus.com/link/767#bkmrk-review-sessions)
- [The menu](https://bookstack.noldus.com/link/767#bkmrk-the-menu)
When you change the Viso terminology, the shortcut keys remain unchanged. For example, if you change ‘Locations’ into ‘Rooms’ the shortcut key to open the Rooms tab is still Alt+ L.
## General functionality
| **Ctrl + L**
| Login / logout
| |
| **F1**
| Open Viso Help
| |
| **Alt + F4**
| Exit Viso
| |
| **Alt + D**
| Open Dashboard
| |
| **Alt + L**
| Open **Locations** tab
| L
|
| **Alt + S**
| Open **Sessions** tab
| |
| **Alt + H**
| Open **Scheduler** tab
| L
|
| **Alt + C**
| Open **Codes** tab
| L,A
|
| **Alt + G**
| Open **Groups** window
| L
|
| **Del**
| Delete sessions
| L
|
| **F2**
| Rename session
| L
|
| **Del**
| Delete codes lists
| L
|
| **Backspace**
| Exit session
| L
|
| **Ctrl + Shift + R**
| Start / Stop Recording
| L
|
| **Ctrl + \[n\]**
| Enable / disable PTZ in video \[n\]
| L
|
| **Ctrl + Shift + \[**
| Save 1st PTZ preset
| L
|
| **Ctrl + Shift + \]**
| Save 2nd PTZ preset
| L
|
| **Ctrl + \[**
| Return to 1st saved PTZ preset
| L
|
| **Ctrl + \]**
| Return to 2nd saved PTZ preset
| L
|
| **Numpad 1**
| Move camera left-down
| L
|
| **Numpad 2**
| Move camera down
| L
|
| **Numpad 3**
| Move camera right-down
| L
|
| **Numpad 4**
| Move camera left
| L
|
| **Numpad 6**
| Move camera right
| L
|
| **Numpad 7**
| Move camera left-up
| L
|
| **Numpad 8**
| Move camera up
| L
|
| **Numpad 9**
| Move camera right-up
| L
|
| **Numpad +**
| Zoom in
| L
|
| **Numpad -**
| Zoom out
| L
|
| **Alt + \[n\]**
| Enable Push-to-talk in camera \[n\]
| L
|
| **Ctrl + Shift + \[n\]**
| Only show video \[n\]. Press it again or press **Esc** to show all previously visible videos.
| L
|
| **Esc**
| Show all previously visible videos (after double-clicking a video, or pressing **Ctrl + Shift + \[n\]**)
| L
|
| **Ctrl + O**
| Select codes list
| L,A
|
| **Ctrl + R**
| Add remark
| L,A
|
| **Del**
| Delete marker, remark
| L.A
|
| **Ctrl + Q**
| During annotating, switch between Subjects and Markers tab.
| L,A
|
| **Page up**
| Open next location in carousel control
| L,M
|
| **Page down**
| Open previous location in carousel control
| L,M
|
| **Alt + C**
| Switch to Codes tab
| L,A
|
| **Alt + E**
| Switch to Events tab
| L,A
|
| **Alt + P**
| Switch to Participants tab
| L
|
| **Shift + \[n\]**
| Mute/unmute video \[n\]
| |
| **Shift + M**
| mute/unmute all videos at once
| |
| **Joystick**
| Pan, Tilt, Zoom
| |
| **1**
| Enable / disable PTZ in video \[1\]
| L
|
| **2**
| Enable / disable PTZ in video \[2\]
| L
|
| **3**
| Enable / disable PTZ in video \[3\]
| L
|
| **4**
| Enable / disable PTZ in video \[4\]
| L
|
| **5**
| Return to Preset 1
| L
|
| **6**
| Return to Preset 2
| L
|
| **Spacebar**
| Play / pause
| |
| **Ctrl + Backspace**
| Quick review
| |
| **Backspace**
| Exit session
| |
| **Alt + B**
| Exit session
| |
| **Ctrl + Shift + \[n\]**
| Only show video \[n\]. Press it again or press **Esc** to show all previously visible videos.
| |
| **Esc**
| Show all previously visible videos (after double-clicking a video, or pressing **Ctrl + Shift + \[n\]**)
| |
| **Ctrl + O**
| Select codes list
| L,A
|
| **Ctrl + R**
| Add remark
| L,A
|
| **Del**
| Delete marker, remark
| L,A
|
| **F2**
| Edit remark
| L,A
|
| **F7**
| Create Highlight (only in event log)
| |
| **Ctrl + S**
| Save changes to the event log
| L
|
| **Ctrl + →**
| Skip to next event
| |
| **Ctrl + ←**
| Skip to previous event
| |
| **Alt + C**
| Switch to Codes tab
| L,A
|
| **Alt + E**
| Switch to Events tab
| L,A
|
| **Alt + P**
| Switch to Participants tab
| L
|
| **Shift + \[n\]**
| Mute/unmute video \[n\]
| |
| **Shift + M**
| mute/unmute all videos at once
| |